Set Up The Server
Set up the server and install the required packages, and software and configure the network for our server in a few easy steps.
For this series, I will be using a cloud VPS from Hetzner. It's a shared vCPU (Arm64), but you can use any type of CPU you want, it doesn't matter. The reason I chose this is because it's the one delivering the most bang for my buck! 💵
Quick Server Specs
I would personally recommend you to have a server with a little more than just the bare minimum you can buy at cloud providers like Hetzner, Digital Ocean, Vultr, etc... The one I am using for this series costs me 4.74 EUR a month at Hetzner, and has the following specs:
- 2 vCPU.
- 4 GB RAM.
- 40 GB Disk Space
- 20 TB Traffic.
- Public IPv4 (0.63 EUR).
- Placed in either Finland or Germany.
Create A Server ✨
Okay, let's deploy the server at Hetzner or any other server provider you prefer. I prefer Hetzner, because they are cheap, have friendly support, and I have all my services hosted on their platform already.
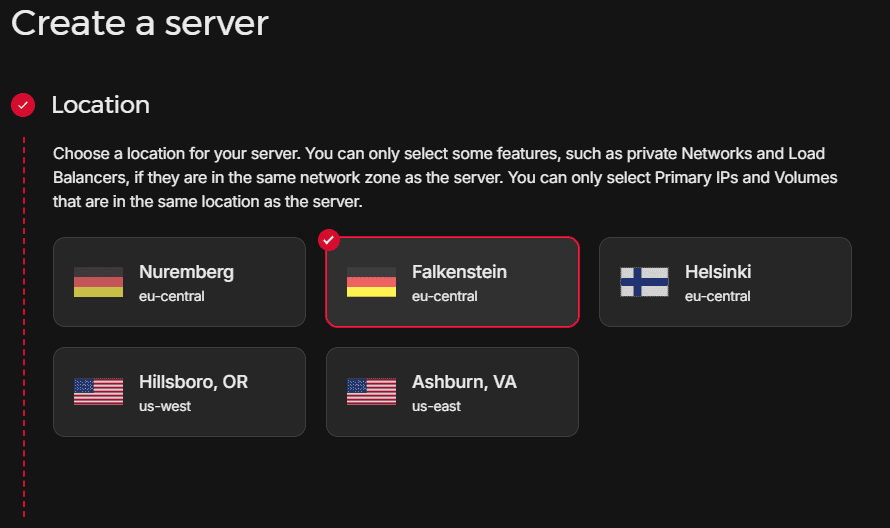
First, we have to select a location for where we would like the server to be hosted.
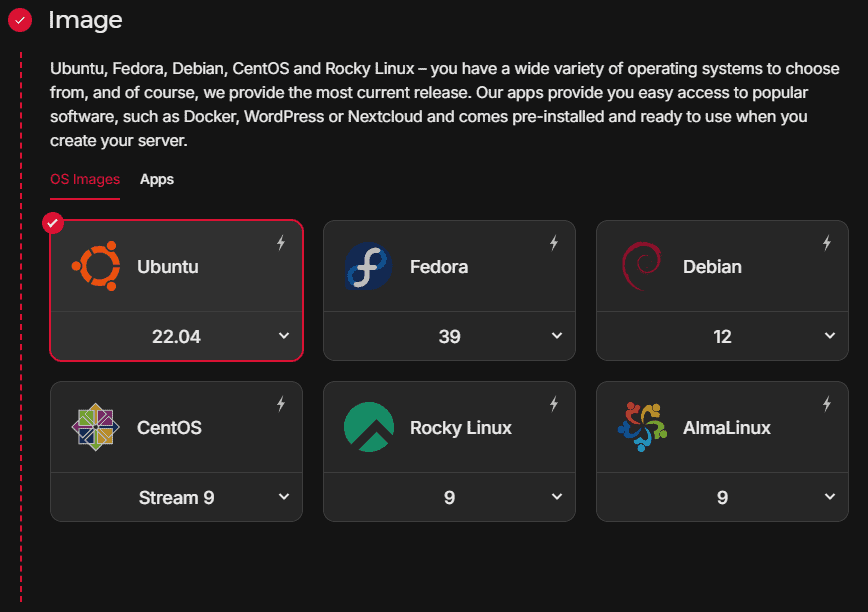
As I mentioned earlier I will be using the latest available LTS version from Ubuntu Server. This will be Ubuntu 22.04, as I have selected at the image below.
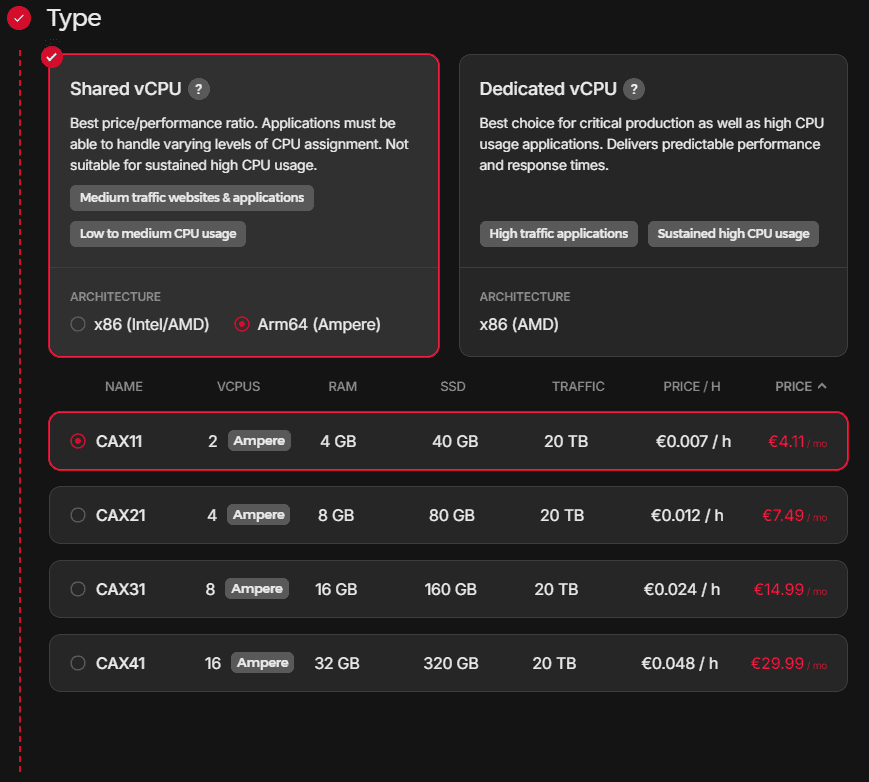
The server I will be using for this series is the smallest ARM server with shared vCPU available at Hetzner Cloud. It's selected right here.
For the networking part I left the configuration at default. A public IPV4 costs 0.63 EUR including TAX for me, but I need it to access the services from the global internet.

By the end of the formular you can give it a name. I chose to name the server twc-docker-hosting. Create the server and see it in your control panel. It will look like the image below and you will receive an email with credentials for accessing the server.

Great! Now we are able to continue our setup as we have a ready deployed cloud server.
Set It Up 🚀
Now that we have a server where we can create our hosting environment, let's continue and set up the server.
Below is a Shell script that takes care of installing every tool we need to run the containers, handle certificates, and make sure we have the correct configuration for our iptables.
#!/bin/bash
echo "🚀 Launching Server Setup! 🚀"
sudo apt update -y && sudo apt upgrade -y
sudo apt install -y ca-certificates curl gnupg lsb-release
sudo mkdir -m 0755 -p /etc/apt/keyrings
curl -fsSL https://download.docker.com/linux/ubuntu/gpg | sudo gpg --dearmor -o /etc/apt/keyrings/docker.gpg
echo "deb [arch=$(dpkg --print-architecture) signed-by=/etc/apt/keyrings/docker.gpg] https://download.docker.com/linux/ubuntu $(lsb_release -cs) stable" | sudo tee /etc/apt/sources.list.d/docker.list > /dev/null
sudo apt update -y
sudo apt install -y docker-ce docker-ce-cli containerd.io docker-buildx-plugin docker-compose-plugin
sudo apt install -y iptables
sudo iptables -A INPUT -i lo -j ACCEPT
sudo iptables -A INPUT -p tcp --dport 80 -j ACCEPT
sudo iptables -A INPUT -p tcp --dport 443 -j ACCEPT
sudo -s iptables-save -c
sudo iptables -L --line-numbers
echo "net.ipv4.ip_forward=1" | sudo tee -a /etc/sysctl.conf
echo "🚀 Setup Complete! 🚀"
Copy the script code, put it in a file anywhere on your server, and make it executable. Finally, you have to run the script on your server.
nano setup.sh
chmod +x setup.sh
./setup.sh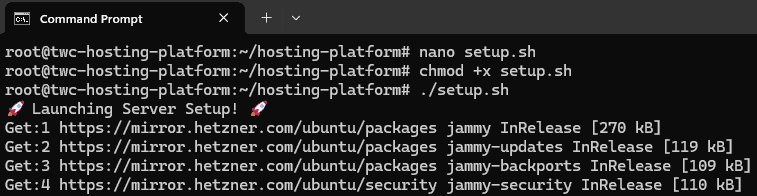
It will take a moment to complete, but once it's done you should be able to see a 🚀 Setup Complete! 🚀 message at the bottom. Here is what it looks like.
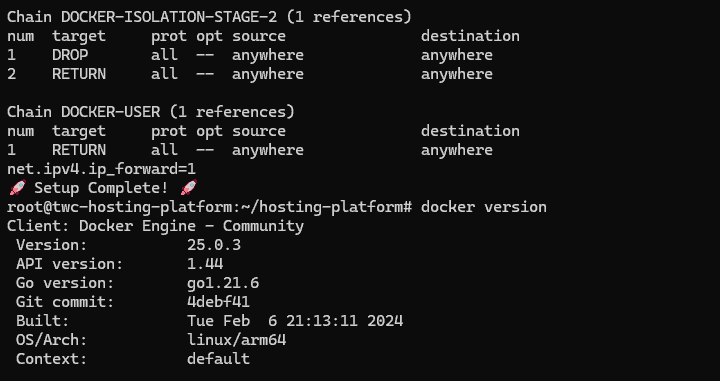
Alright, we now have a fully functioning server that is ready to be configured for a production-grade hosting setup with Traefik, CrowdSec, and monitoring services.
When you are ready, just move to the next section and start configuring Traefik + Portainer for your server.