The #1 guide to show real-time .NET 6 logs for Web Apps and APIs in a modern way using WatchDog for Free
Learn how to show real-time logs from your .NET Web app using WatchDog. WatchDog is an open-source logging tool for .NET Web Apps.

A reader recently asked me for a more modern way to view log files for requests and exceptions in a web application. The only requirement from him was that the solution had to be open-source and running with the Web API. Fortunately, I know a tool to log Realtime Messages, Events, and HTTP (Requests & Responses), with a built-in Exception logger and viewer for ASP.NET Core Web Apps and APIs named WatchDog.
I often use the Elastic tools to store logs from my applications, but in this case, it had to be running as a built-in service. When helping out others with their solutions I see them logging to .json, .txt, .csv, and databases at runtime. Every time the application encounters an error, they have to open up either the files or the database and search for the error id. This can be done in a much easier and more modern way using the open-source tool named WatchDog by iZyPro.

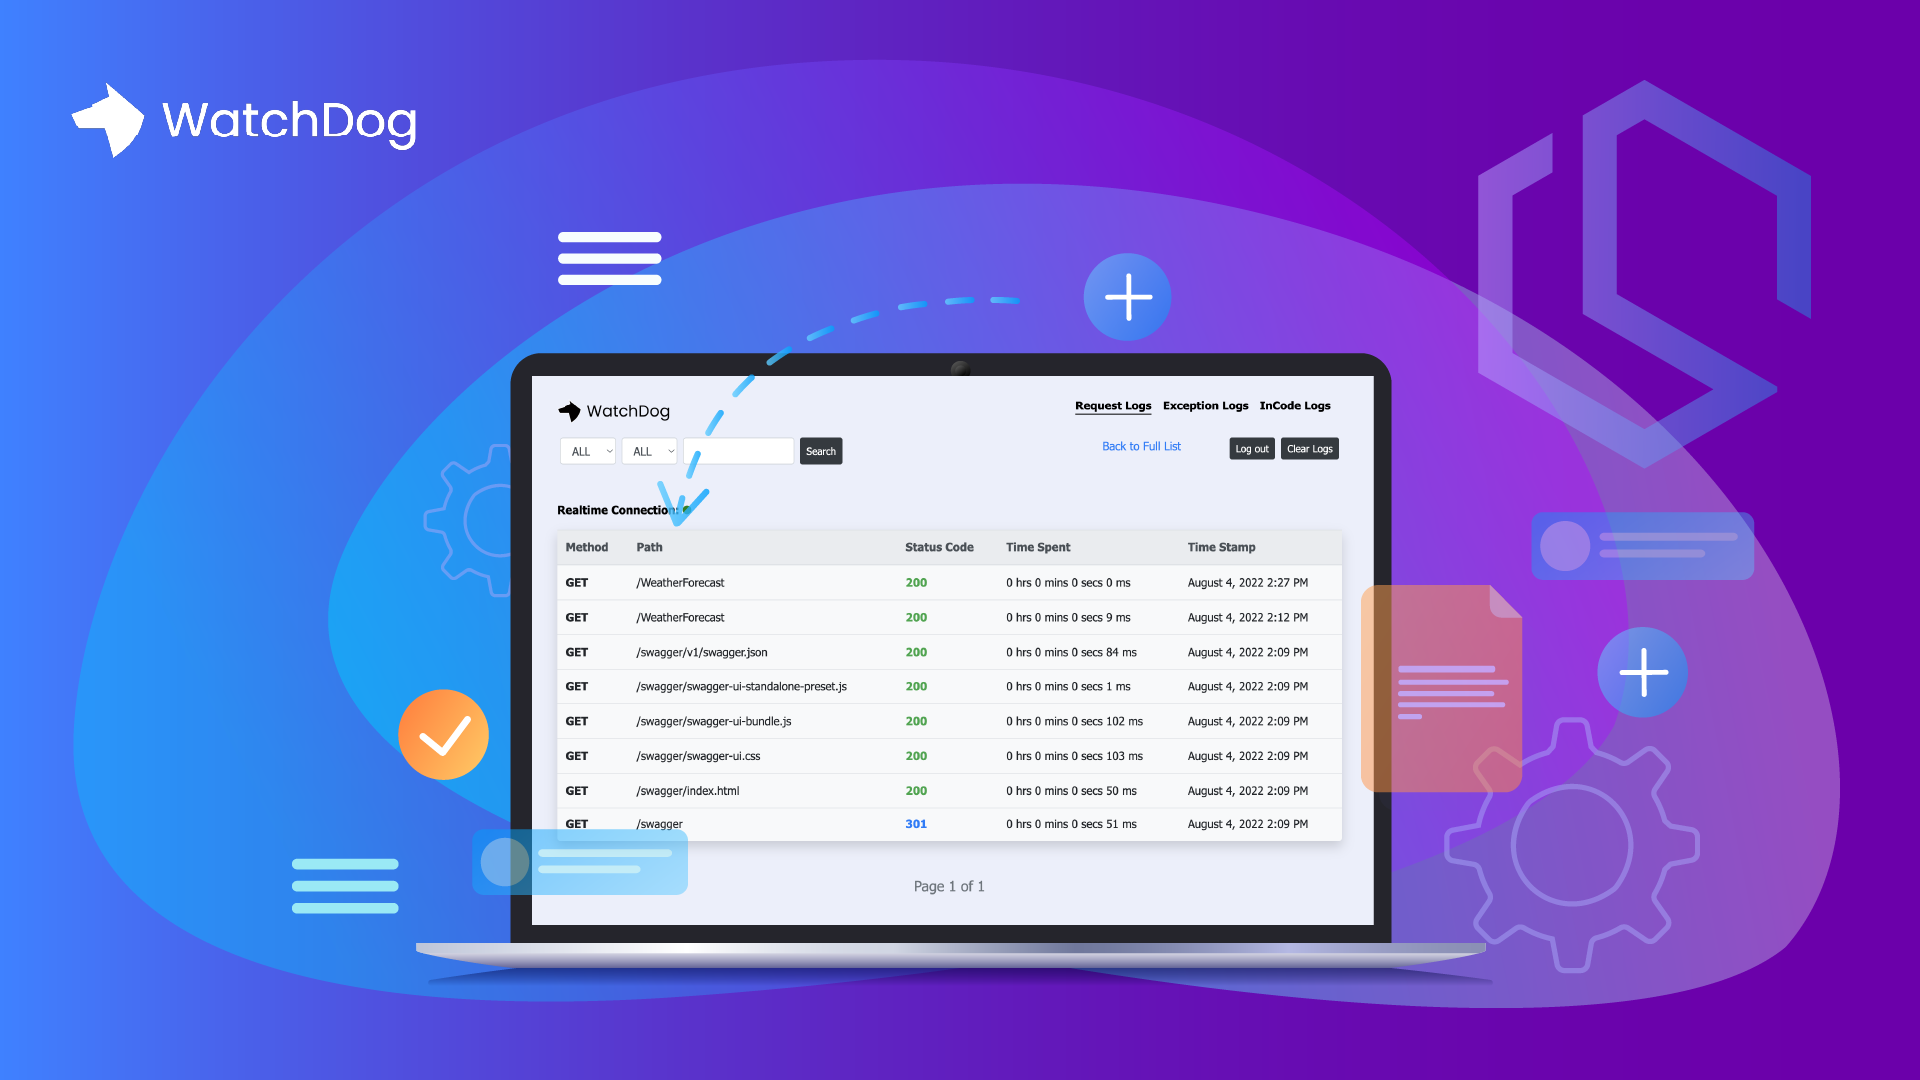
The final result you will end up with will look like this when running:

Video Tutorial
To make it even easier, I have created a video tutorial showing you step-by-step how you can implement WatchDog into your own .NET application.
What is WatchDog?
From GitHub by the author:
WatchDog is a Realtime Message, Event, HTTP (Request & Response) and Exception logger and viewer for ASP.Net Core Web Apps and APIs. It allows developers log and view messages, events, http requests made to their web application and also exception caught during runtime in their web applications, all in Realtime. It leveragesSignalRfor real-time monitoring andLiteDba Serverless MongoDB-like database with no configuration with the option of using your external MSSQL, MySQl or Postgres databases. https://github.com/IzyPro/WatchDog#introduction
Why should you use WatchDog?
WatchDog allows us to do searching, filtering, pagination, automatic clearing of logs, or even forward the logs to an external database running either MS SQL, MySQL, Postgresql, or LiteDB if you would prefer a lightweight solution, and add authentication, etc... If you ask me WatchDog is in my top 5 list of open-source logging tools when making web apps using .NET.
Some of the features in WatchDog include:
- RealTime HTTP Request and Response Logger
- RealTime Exception Logger
- In-code message and event logging
- User-Friendly Logger Views
- Search Option for HTTP and Exception Logs
- Filtering Option for HTTP Logs using HTTP Methods and StatusCode
- Logger View Authentication
- Auto Clear Logs Option
Add WatchDog to your .NET Web API
Let's move on to the part where it gets fun. We will now add WatchDog to a sample Web API I have made out of the default ASP.NET Core Web API template in Visual Studio.
Install Dependency
The first thing we have to do is install WatchDog.NET from the NuGet store. You can do this using the Package Console or by opening the GUI in Visual Studio and searching for “WatchDog.NET”. Below is the command I used to add the package to my demo project for this tutorial.
dotnet add package WatchDog.NETYou can read these official guides from Microsoft about how to install packages via Visual Studio or CLI.
Configure for .NET 6 Web Applications
To make this new library/dependency work, we have to register it in our program.cs file. Go ahead and open up program.cs and add the following code inside the file:
using WatchDog;

var builder = WebApplication.CreateBuilder(args);

// Add services to the container.

builder.Services.AddControllers();
// Learn more about configuring Swagger/OpenAPI at https://aka.ms/aspnetcore/swashbuckle
builder.Services.AddEndpointsApiExplorer();
builder.Services.AddSwaggerGen();

builder.Services.AddWatchDogServices(); // Register services for logging service

var app = builder.Build();

app.UseWatchDogExceptionLogger(); // Add Exception logging

// Add middleware and setup username + password. You should change credentials.
app.UseWatchDog(opt =>
{
    opt.WatchPageUsername = "admin";
    opt.WatchPagePassword = "admin";
});

// Configure the HTTP request pipeline.
if (app.Environment.IsDevelopment())
{
    app.UseSwagger();
    app.UseSwaggerUI();
}

app.UseHttpsRedirection();

app.UseAuthorization();

app.MapControllers();

app.Run();
What happens in the code above?
- We have added
using WatchDog;to the block of using statements. - We have added middleware to register requests and responses + the exception logging service.
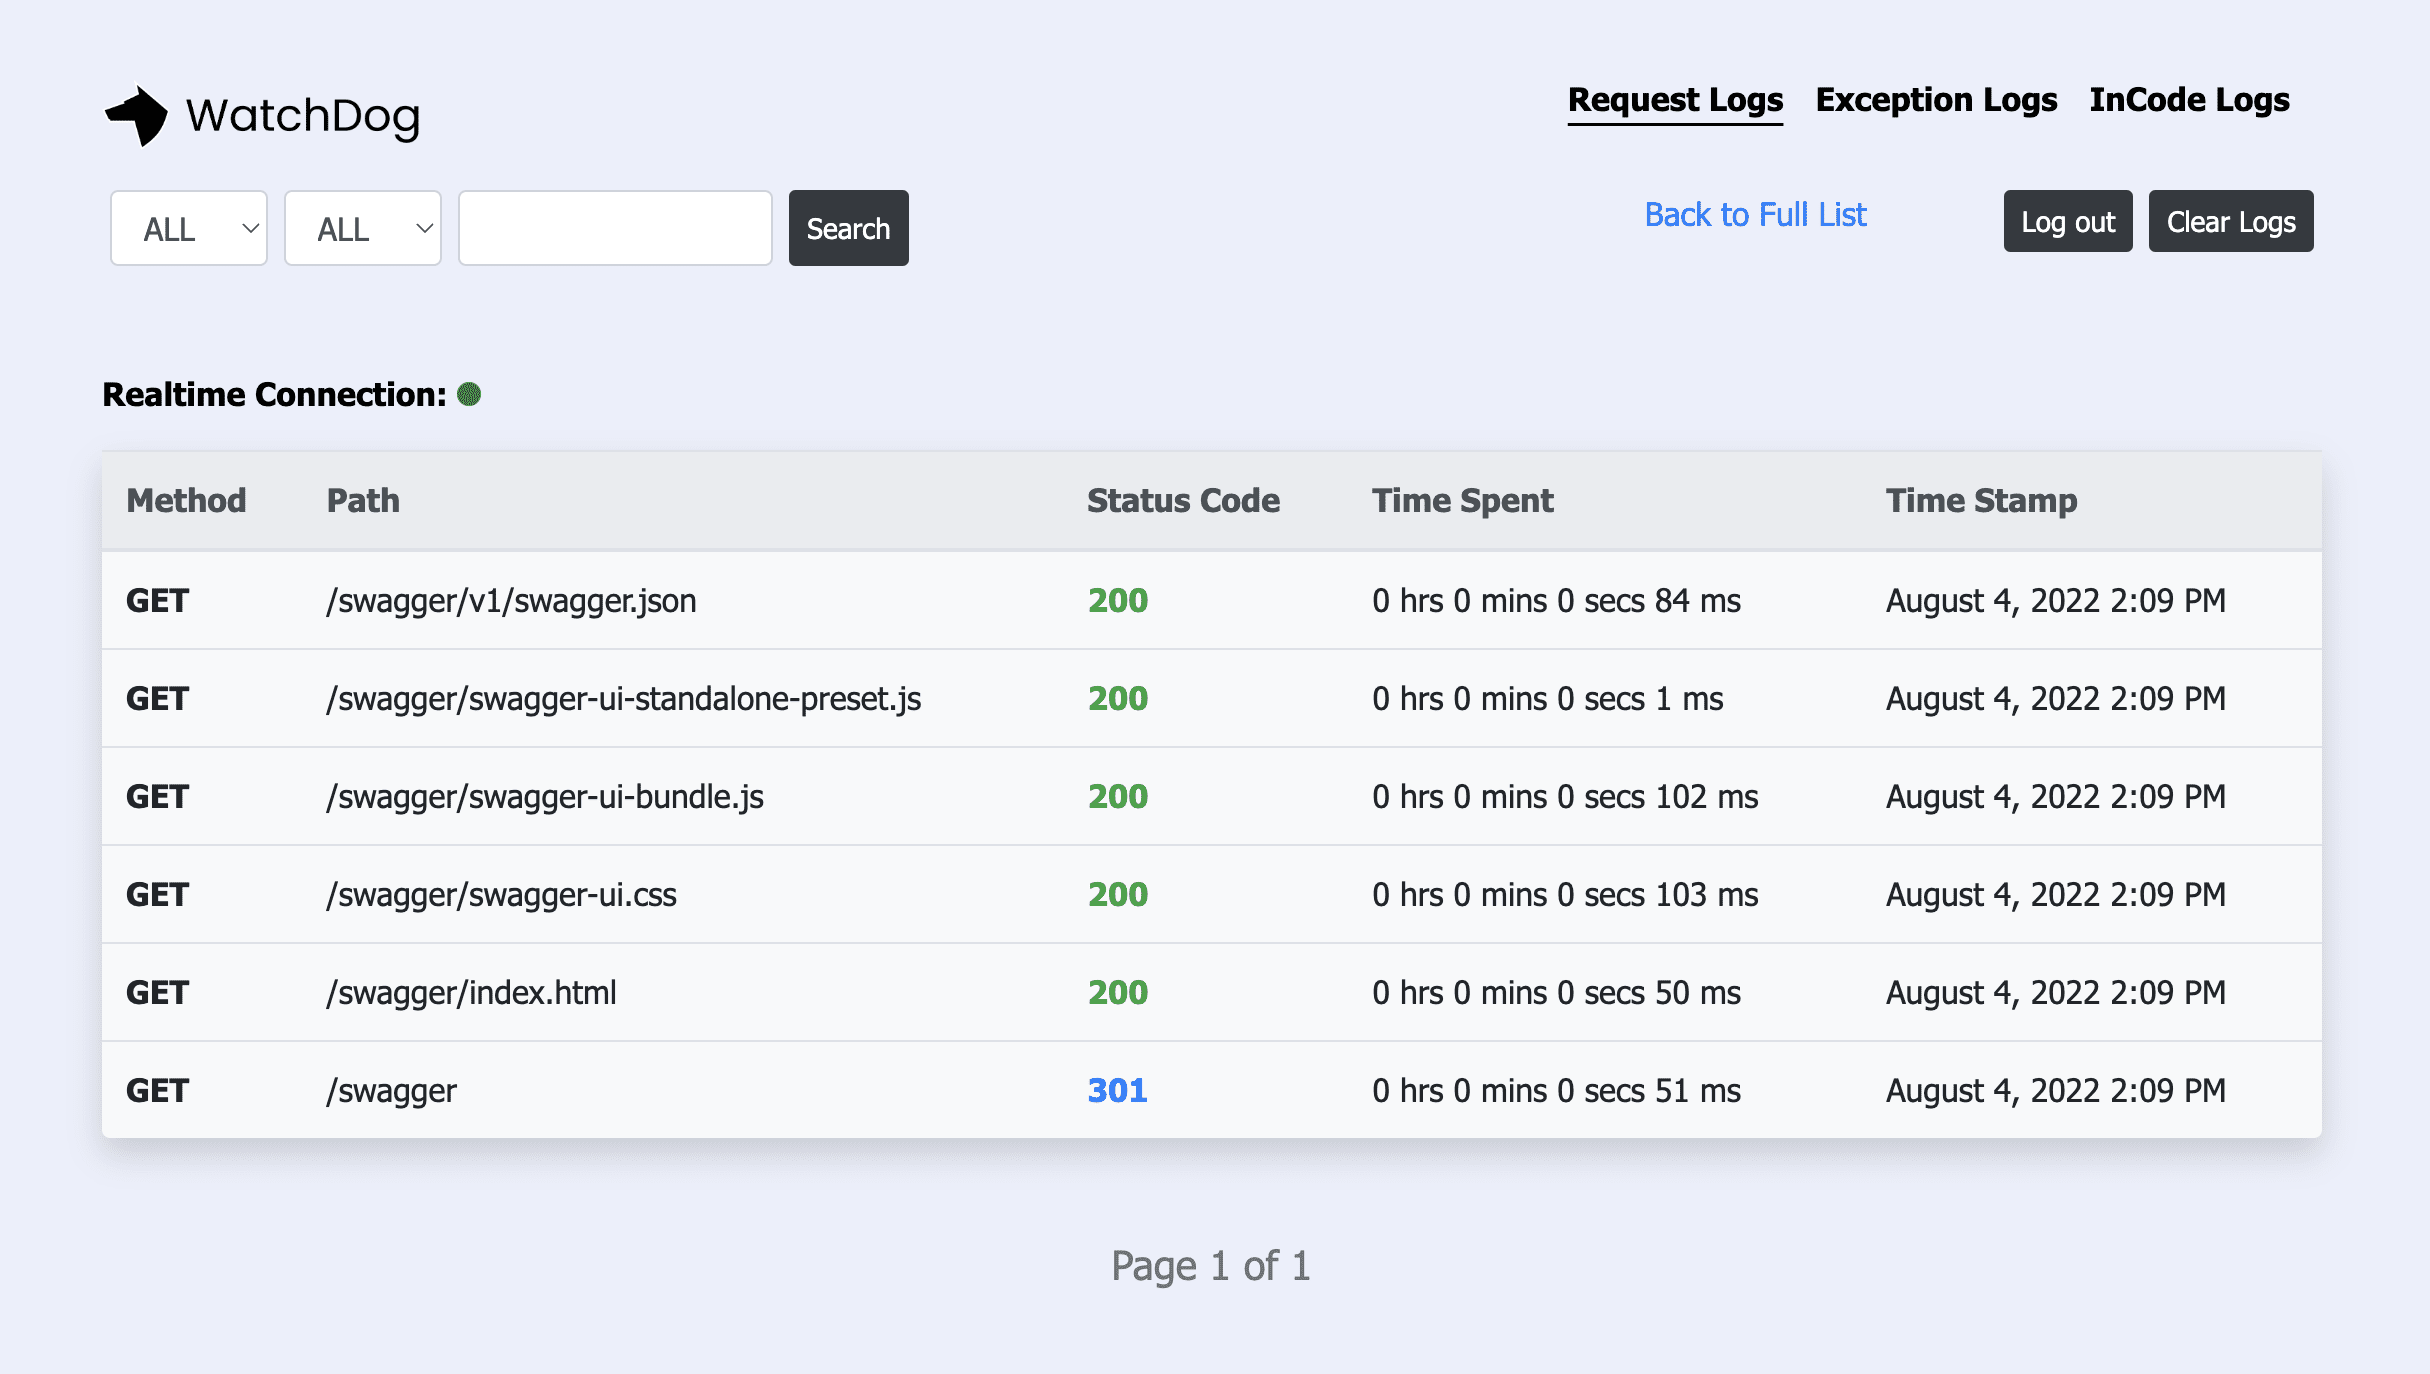
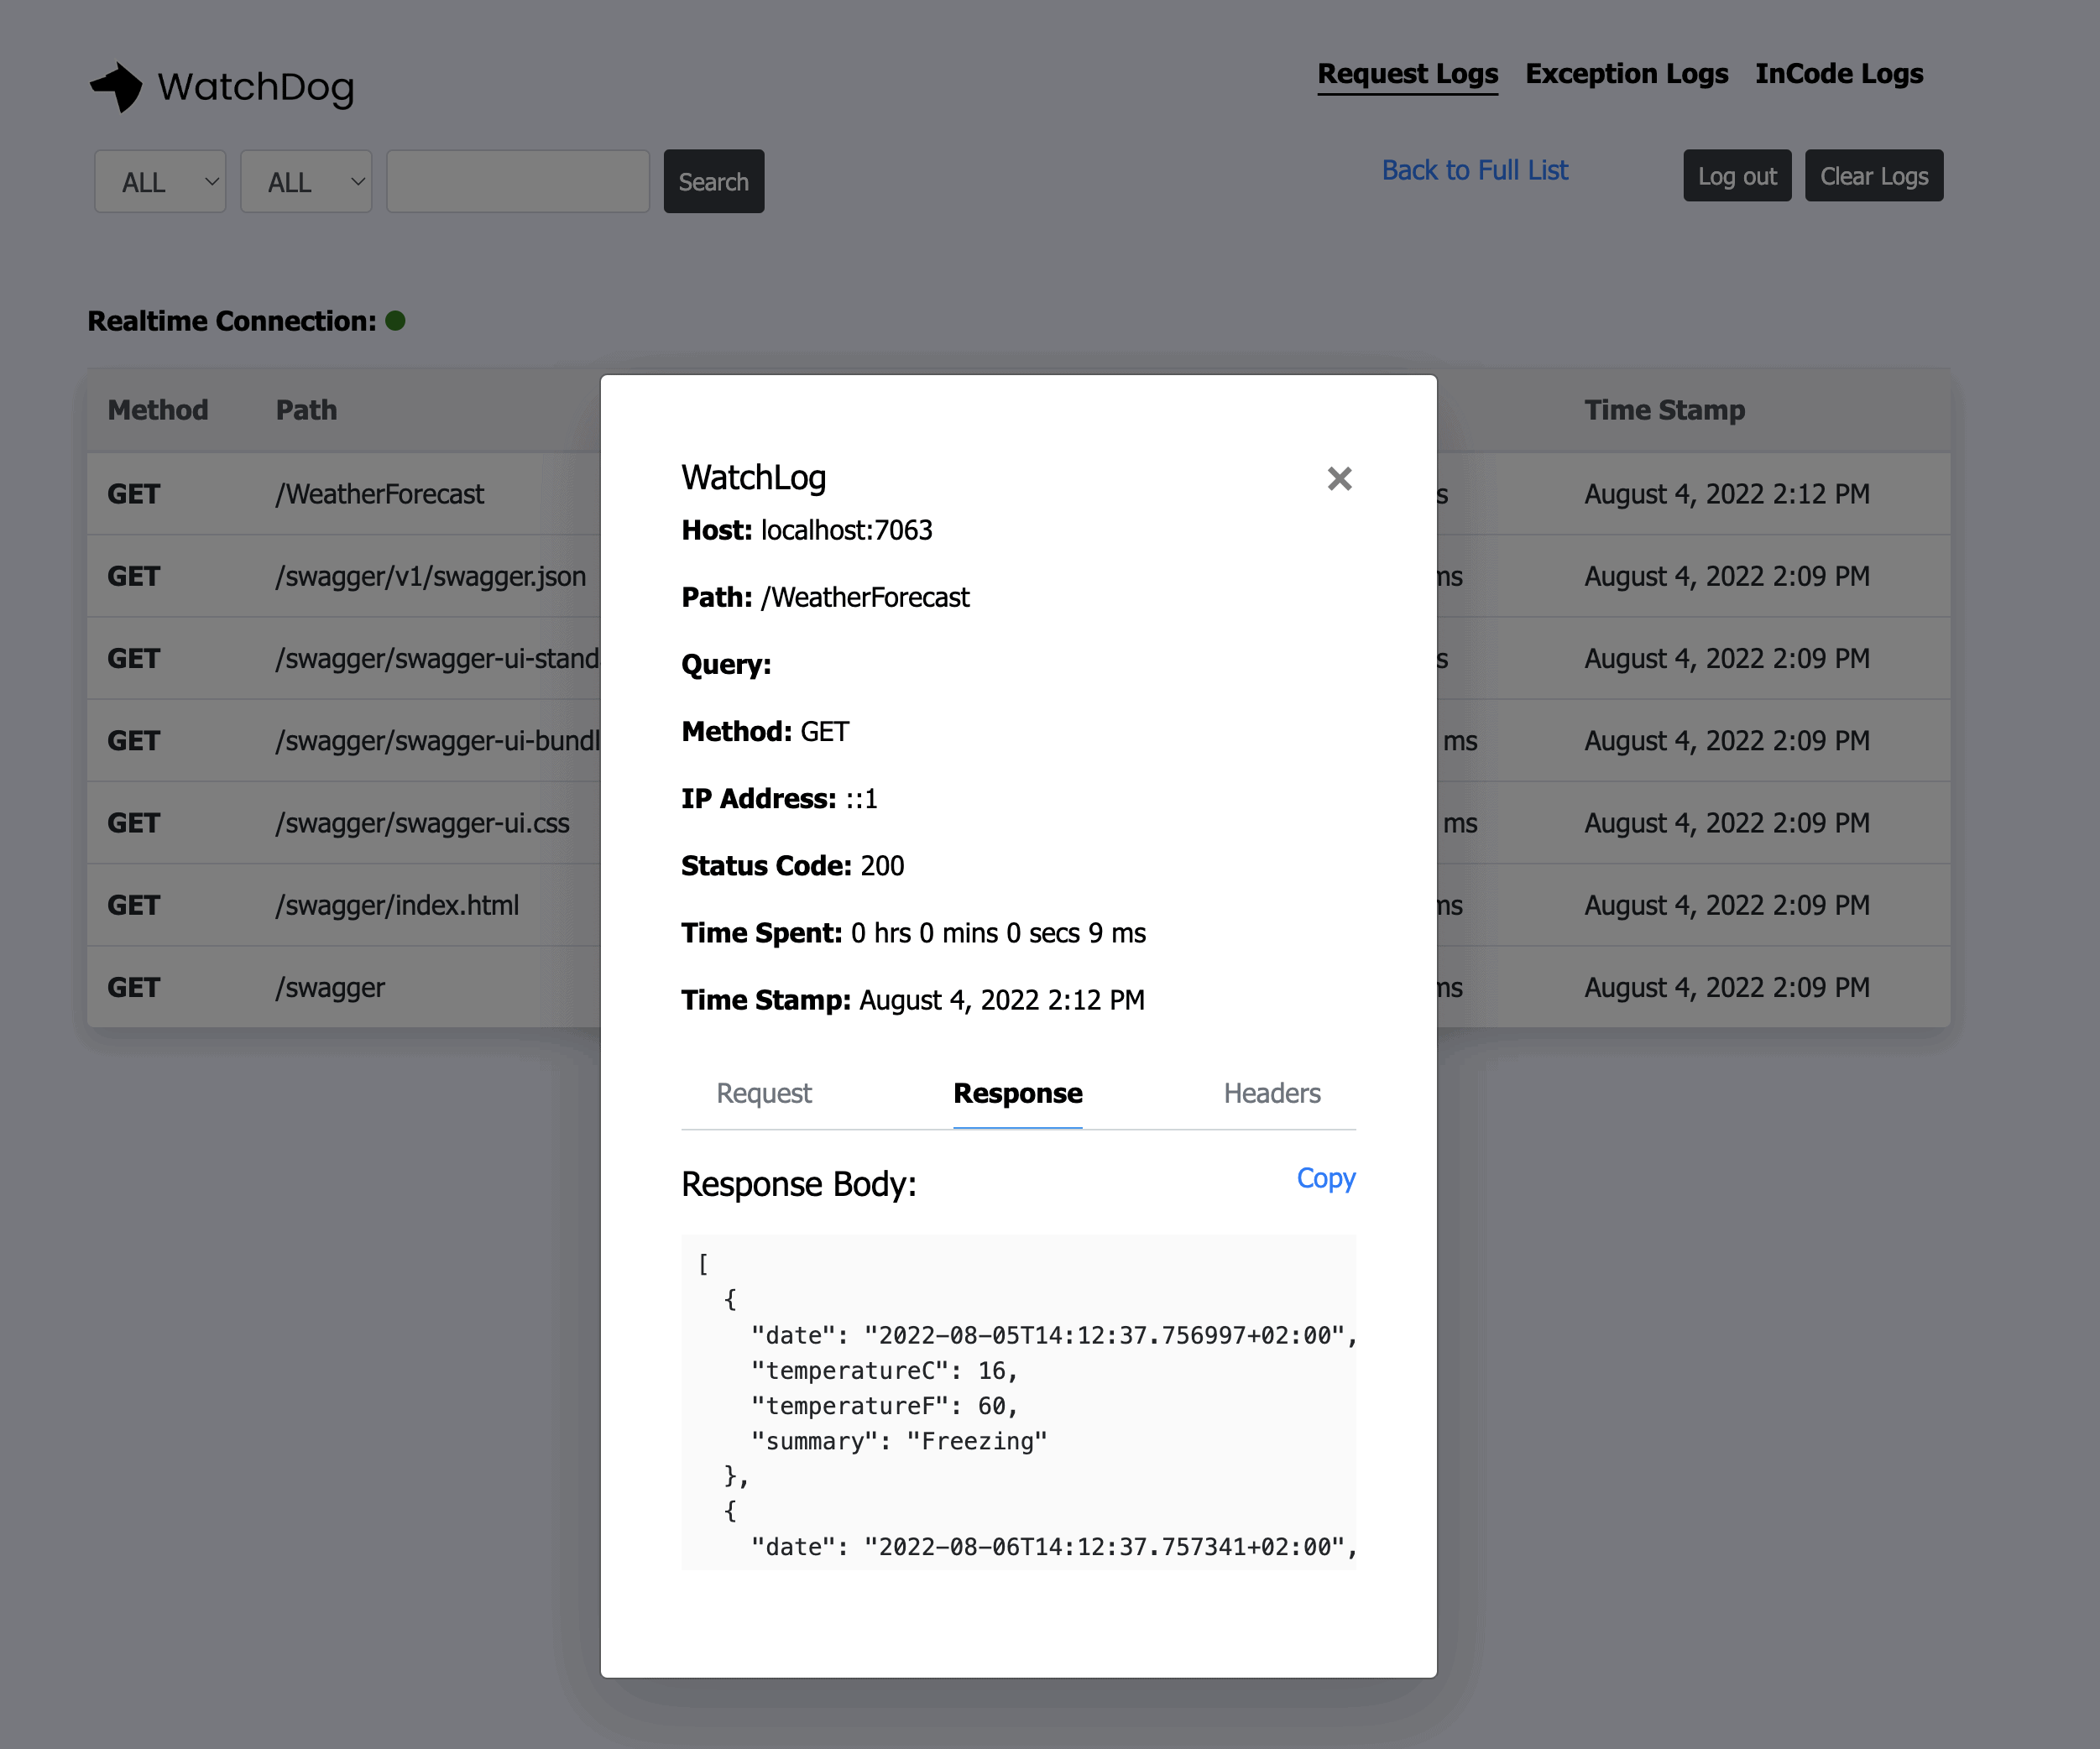
I have made a request for the weather forecast endpoint https://localhost:7063/WeatherForecast and this is the result of the logging service now available at https://localhost:7063/watchdog:

That is actually all you have to do in order to get this cool logging service up and running. Below is a list of how to get the most from WatchDog.
Get the most from WatchDog
This library got some great built-in features you can use to get even more functionality without having to add more than a few lines of code, all of them are optional.
Automatic clearing of logs by schedule
If you don't want to store your logs for too long as it easily can clutter things up, you can set up a frequency/time interval for how often the logs should automatically be cleared. You can use the following intervals:
- Daily
- Weekly
- Monthly
- Quarterly
If you would like to prevent any automatic log clearance you can use isAutoClear = false in the configuration of the service. Below is the implementation of this functionality:
services.AddWatchDogServices(settings =>
{
   settings.IsAutoClear = true;
   settings.ClearTimeSchedule = WatchDogAutoClearScheduleEnum.Weekly;
});
If you don't specify any schedule the default clearance of your logs will happen on a daily basis.
Blacklisting of endpoints in your Web App
If you got any form of authentication happening in your application, I would blacklist these endpoints for security reasons. This would prevent any trail logs of your user's credentials when they interact with your application. By design this logging service will log all your requests and responses, please use it with caution.
To avoid specific endpoints to be included in the logging service, you should pass a list of routes or even words separated by commas in the blacklist parameter in the configuration of the middleware, as shown below:
app.UseWatchDog(settings =>
{
   settings.WatchPageUsername = "admin";
   settings.WatchPagePassword = "password";
   settings.Blacklist = "Test/testPost, weatherforecast";
 });
Forward your logs to an external database
If you need to store the logs from your application inside another database, this can easily be done by passing a connection string along with a SQL driver. The supported databases at the time of writing are:
- MS SQL
- MySQL
- PostgreSQL
To send your logs to another database, you can use this implementation:
PostgreSql
services.AddWatchDogServices(settings =>
{
   settings.SqlDriverOption = WatchDogSqlDriverEnum.PostgreSql;
   settings.SetExternalDbConnString = "Server=localhost;Database=testLoggingDb;User Id=sa;Password=password;";
});
MS SQL
services.AddWatchDogServices(settings =>
{
   settings.SqlDriverOption = WatchDogSqlDriverEnum.MSSQL;
   settings.SetExternalDbConnString = "Server=myServerAddress;Database=myDataBase;User Id=myUsername;Password=myPassword;";
});
MySQL
services.AddWatchDogServices(settings =>
{
   settings.SqlDriverOption = WatchDogSqlDriverEnum.MySQL;
   settings.SetExternalDbConnString = "Server=myServerAddress;Database=myDataBase;Uid=myUsername;Pwd=myPassword;";
});
If you need a reference to templates for connection strings, you can visit https://www.connectionstrings.com/.
Summary
In this quick guide, you have learned how to set up and configure WatchDog for your .NET 6 Web Application. As you might have noticed it is very easy to implement this library/service inside your Web Application. I use it a lot when I need to show logs in a simple, easy and modern way when developing applications or running them in production.
Remember to always use authentication, as it will harden the security of your application. If you got any questions or suggestions about this topic, please let me know in the comments below. Until next time - happy coding!

