GitHub is primarily known for its awesome Git repository hosting features. Over the past year GitHub has expanded its capabilities to also include other features. One of the services has been named GitHub Actions, and it's pretty cool if you ask me! ✌️
GitHub Actions was made available to the public in 2018 and has since gained in popularity due to its great extensibility and features. I could talk a lot about this tool, but that's not what you are here for. 😅

GitHub Actions is an integrated CI/CD tool in the GitHub platform that will help you build and do various tasks on your code and projects. By using these actions you can fully avoid hosting a build server as we used to back in the days. 😁
If you are ready, then let's move on to the stuff you are here for. 🔥
Your First Workflow With GitHub Actions
Before we dive in to the good stuff, I wan't to highlight what the different words I will be using mean. A workflow at GitHub Actions is what you will know as a build process. A Workflow is described using YAML.
Workflow files can get rather complex as you start to dive deeper and deeper into how the build process is and each step that goes into your build process. Fear not! There are lots of templates you can use and tweak to fit on your project.
An Easy Way
A guy named Tim Heuer has made a project named dotnet-workflow and it will help you build most .NET projects.

According to Tim, who made the README for the project, it is:
A simple global tool to give you a handy and quick method to create a GitHub Actions workflow file for continuous integration (CI) builds.
To use it, you would have to install the package from NuGet with the following command, as it's not available in dotnet by default.
dotnet new --install TimHeuer.GitHubActions.TemplatesWhen you have installed the package, you can invoke it from your terminal with the following command:
dotnet new workflow
You should now have a YAML file in the .github/workflows folder with the name of your project folder. This YAML file will contain the steps required to build and test your .NET project/solution.
This is what you should have in your YAML file. You can safely remove the part with Restore workloads if you are not using Aspire, Wasm or Maui.
name: "Build"

on:
  push:
    branches:
      - main
    paths-ignore:
      - '**/*.md'
      - '**/*.gitignore'
      - '**/*.gitattributes'
  pull_request:
    branches:
      - main
    paths-ignore:
      - '**/*.md'
      - '**/*.gitignore'
      - '**/*.gitattributes'
  workflow_dispatch:

jobs:
  build:
    name: Build
    runs-on: ubuntu-latest
    env:
      DOTNET_CLI_TELEMETRY_OPTOUT: 1
      DOTNET_SKIP_FIRST_TIME_EXPERIENCE: 1
      DOTNET_NOLOGO: true
      DOTNET_GENERATE_ASPNET_CERTIFICATE: false
      DOTNET_ADD_GLOBAL_TOOLS_TO_PATH: false
      DOTNET_MULTILEVEL_LOOKUP: 0
      DOTNET_SYSTEM_CONSOLE_ALLOW_ANSI_COLOR_REDIRECTION: true
      TERM: xterm

    steps:
    - uses: actions/checkout@v4

    - name: Setup .NET SDK
      uses: actions/setup-dotnet@v4
      with:
        dotnet-version: 9.0.101

    # if not using any workloads (e.g, Aspire, Wasm, Maui), remove this step
    - name: Restore workloads
      run: dotnet workload restore

    - name: Restore
      run: dotnet restore

    - name: Build
      run: dotnet build --configuration Release --no-restore

    - name: Test
      run: dotnet test
Now go ahead and commit the file to your repository at GitHub. by default, it will run every time you are creating a new pull-request or push to your main branch.
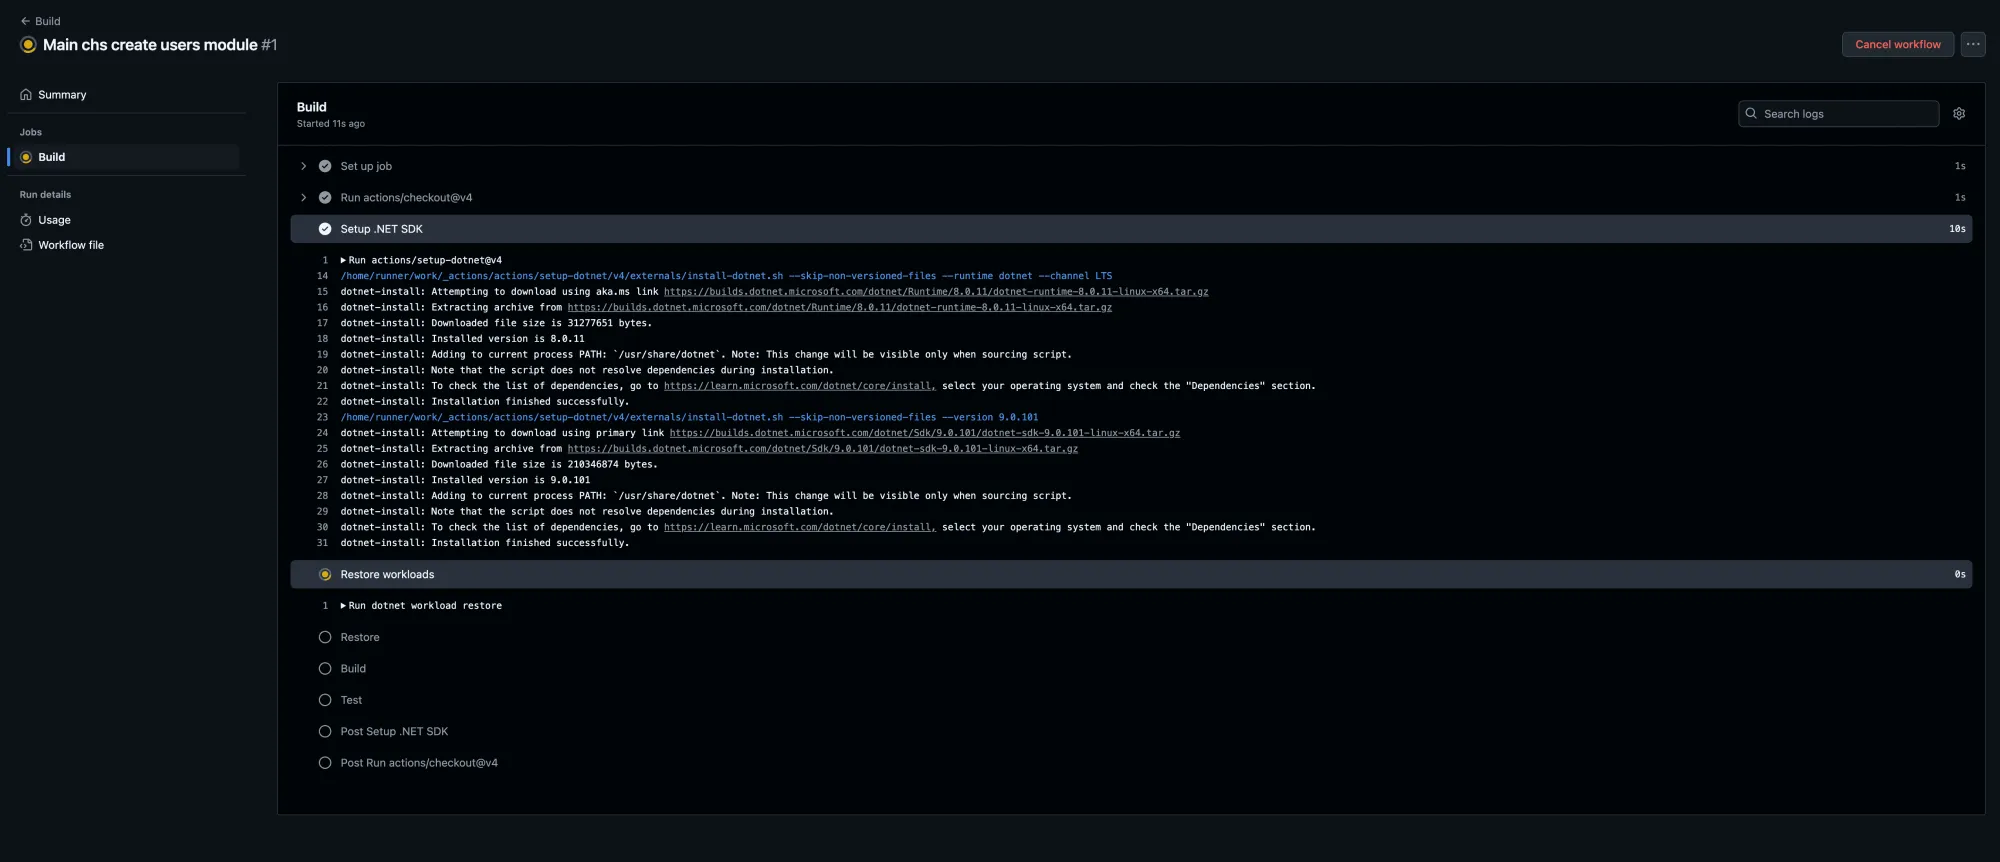
In the image below you can see the actions in the workflow defined in the YAML file above, but being executed at GitHub Actions.

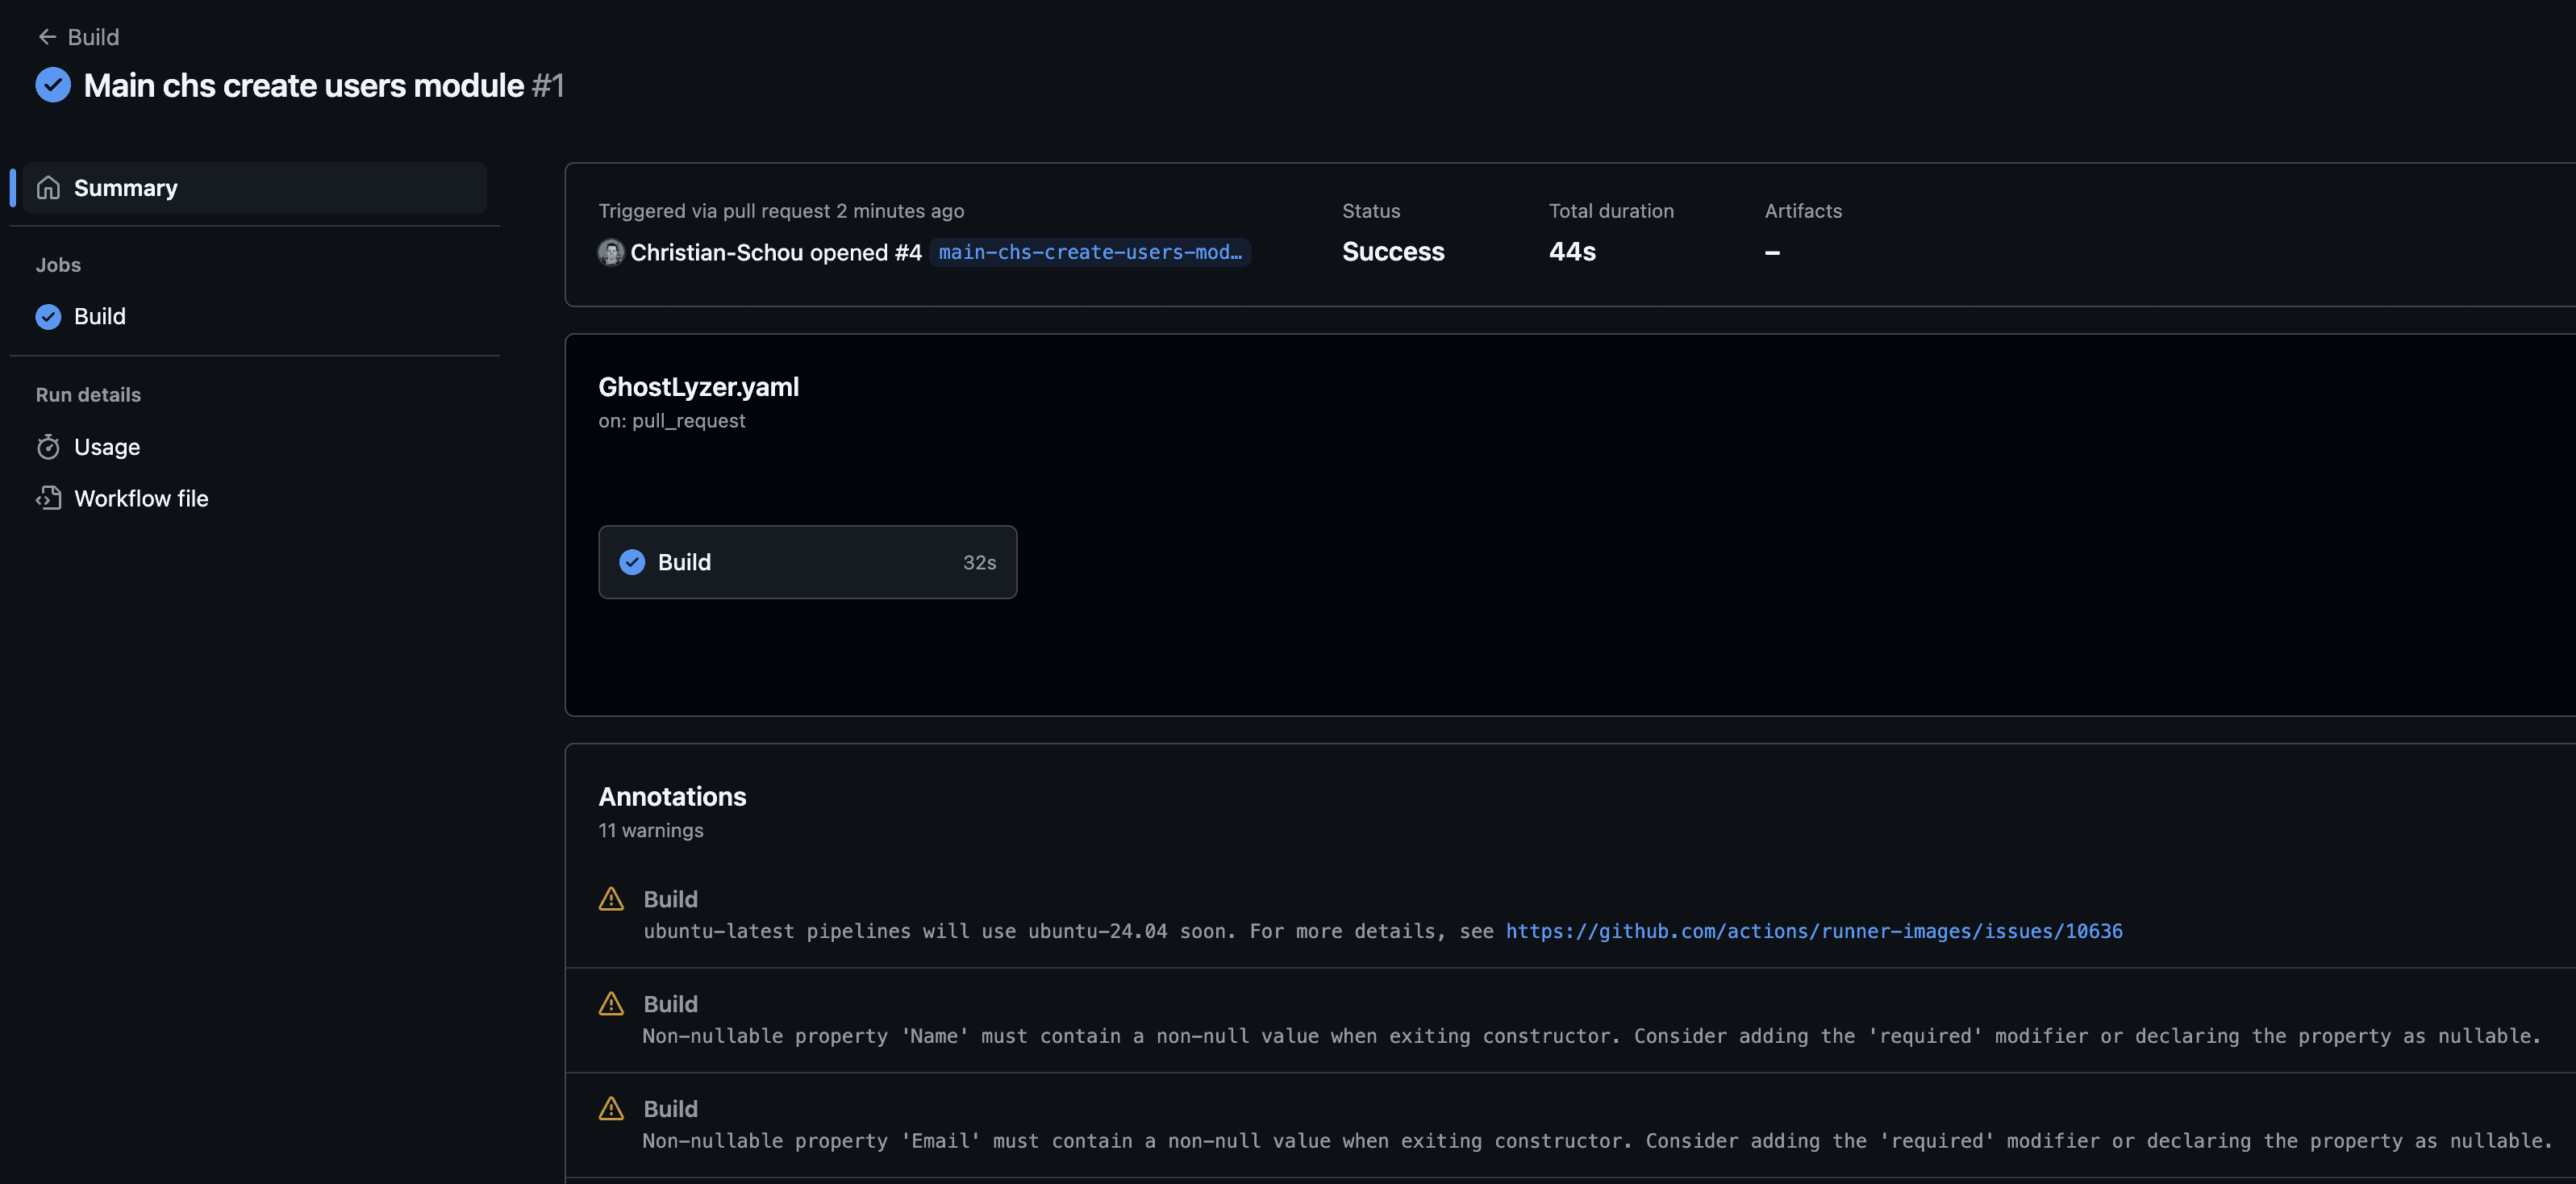
When the build is complete, you will have the option in the Summary to see warnings and the result of each step. In this workflow file we have only defined one step named Build, hence you will only see a Build step in the overview, as shown in the image below.

That works pretty well, and it was super easy - if you ask me! 💪
Summary
In this short DevOps tutorial on how to build and test .NET projects at GitHub Actions, you learned an easy way of creating a new workflow file to speed up your development process.
I am thinking of forking Tim's project and refactoring it a bit to become a CLI tool with extra options and features for creating these build templates for .NET projects. Let me know what you think in the comments below.
Until next time, happy coding! ✌️


